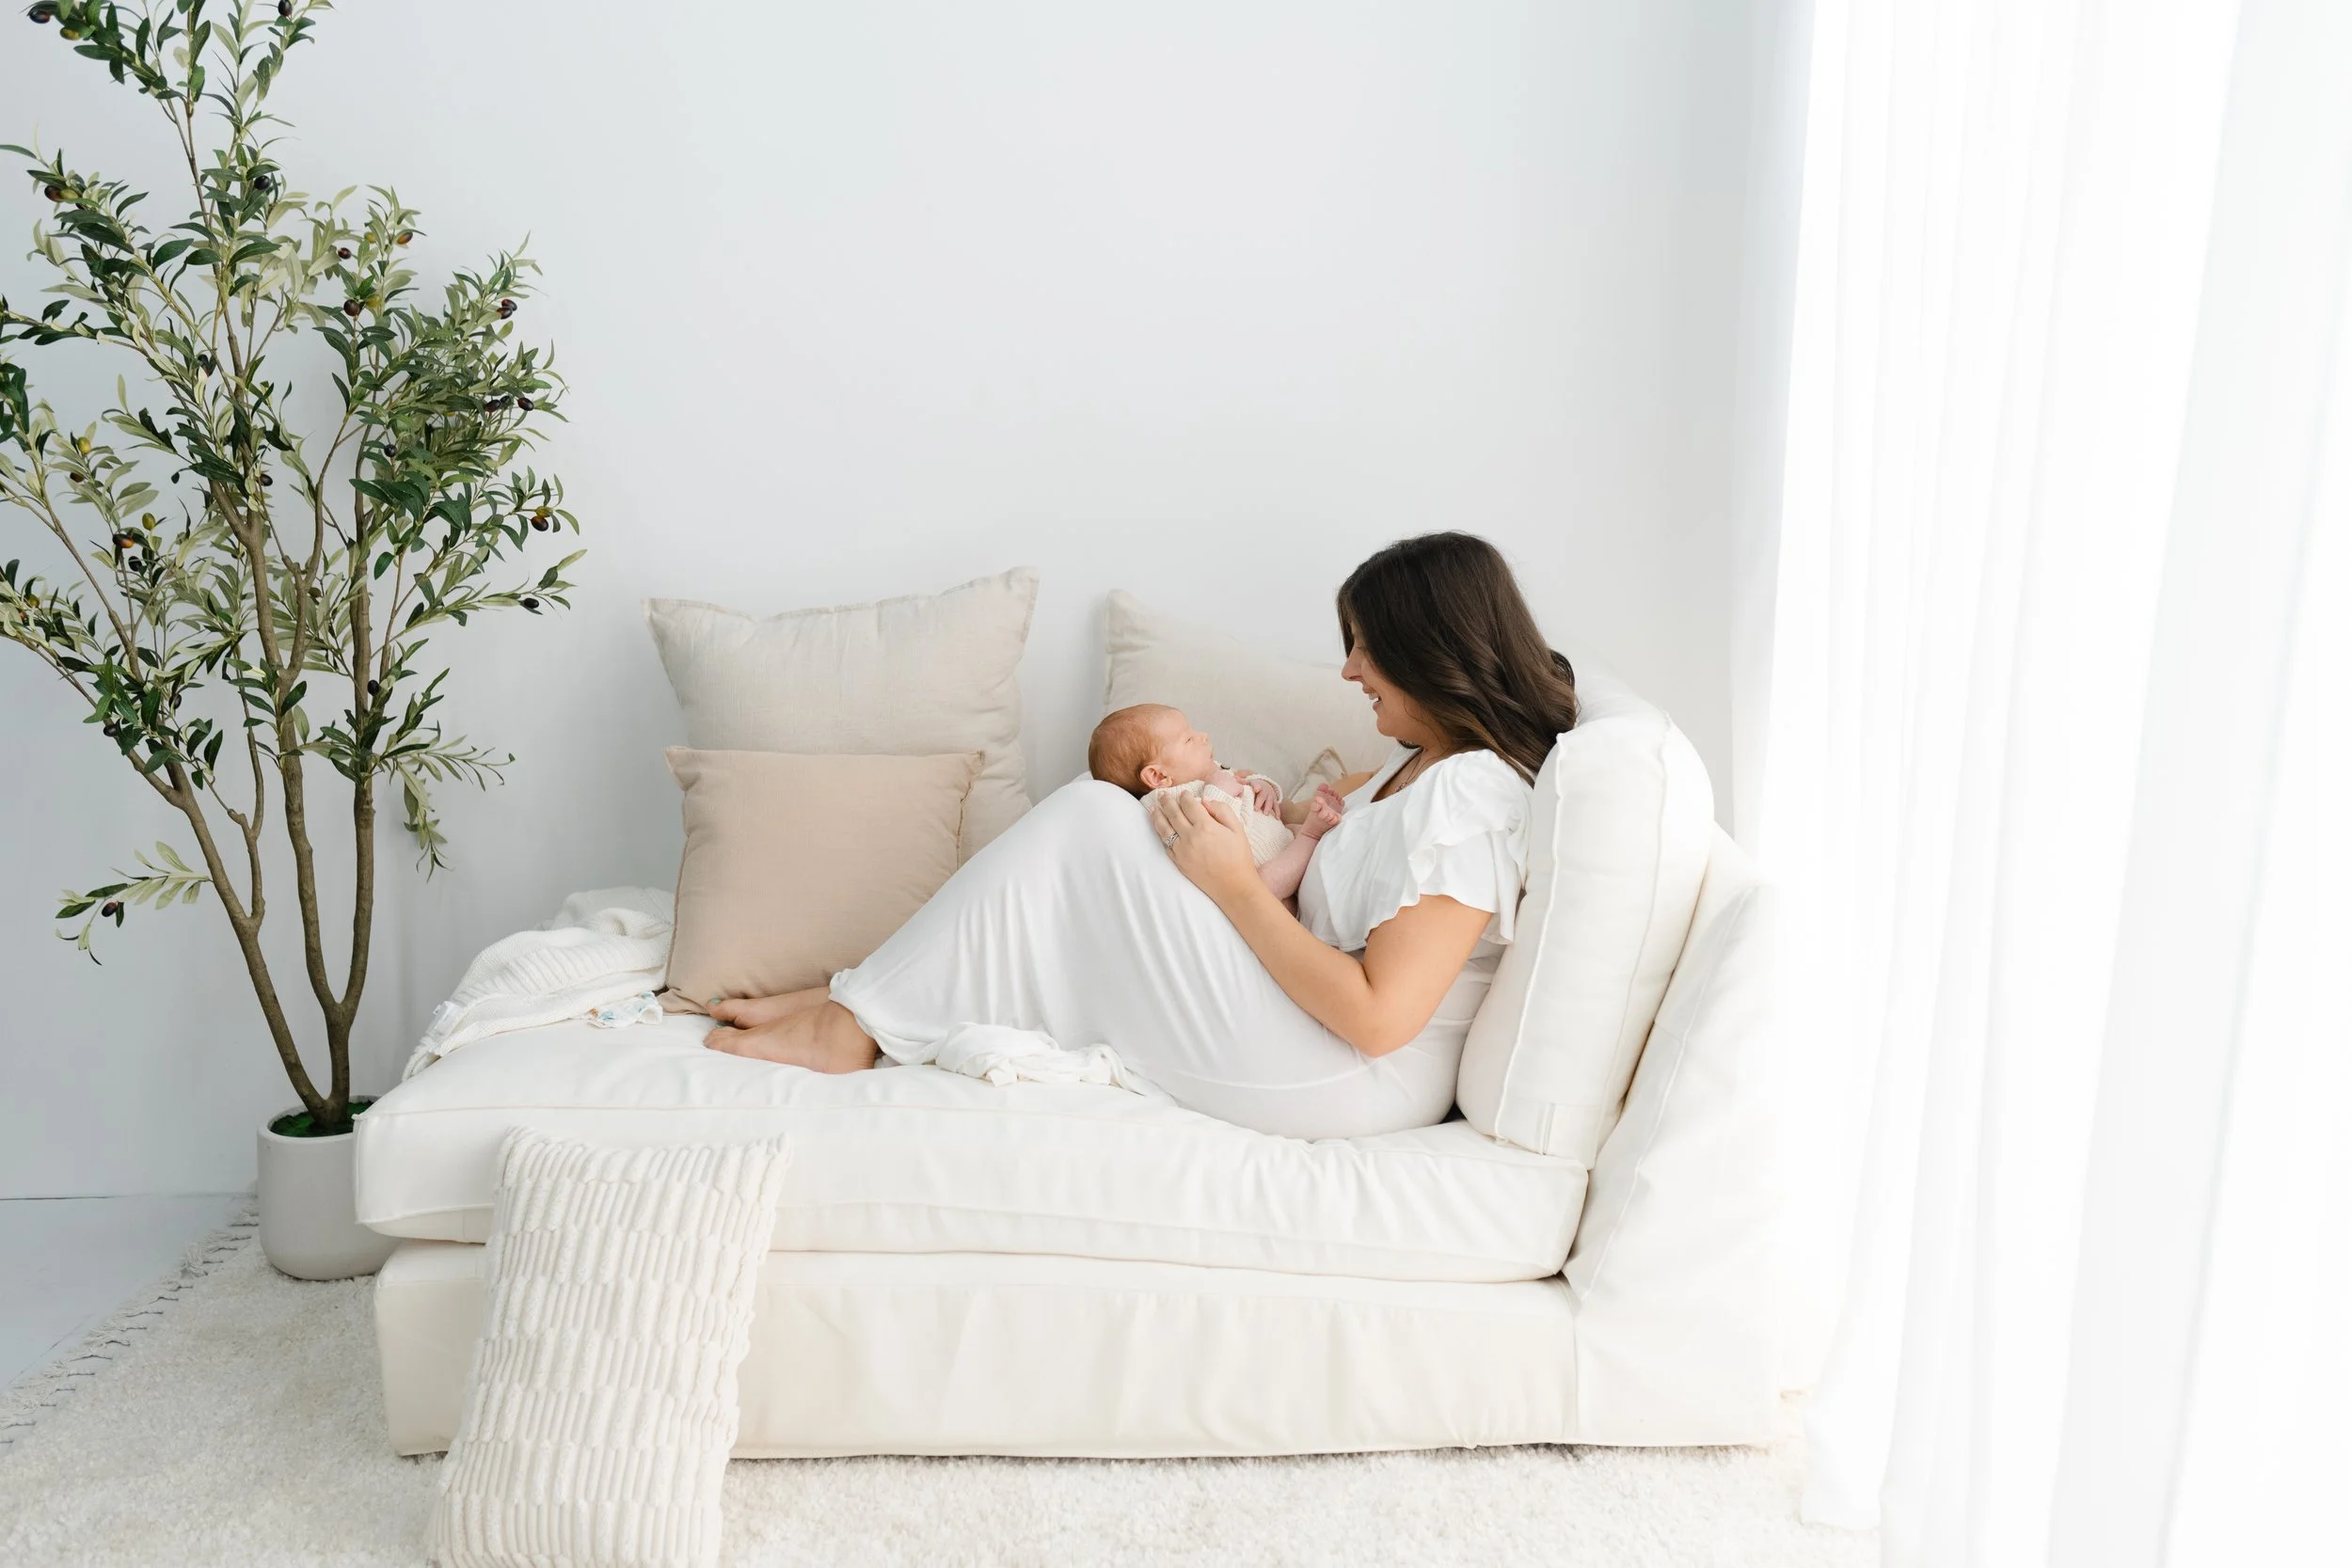
How to Make an LED Light Wall for a Photography Studio
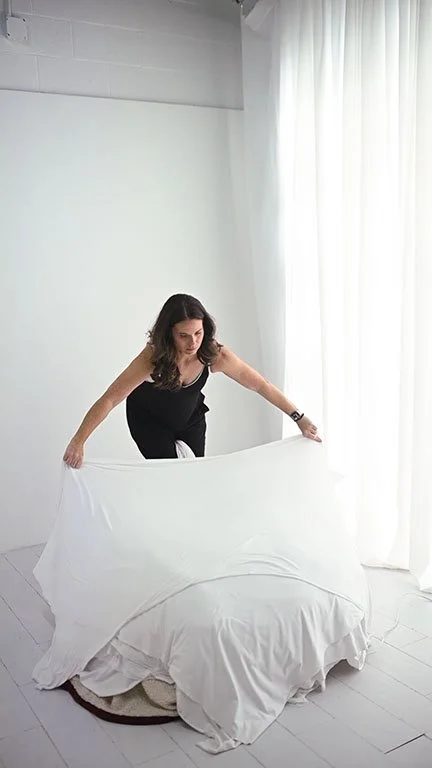
When I moved into my new photography studio in Garner, NC, my shooting space was basically a literal garage. 😂 No windows. No natural light. Nothing. And since my entire brand revolves around a bright, light, airy studio, I had to figure out how to create that look without, you know, actually having a giant window.
I've used continuous LED lights from Godox for years, but I wanted something different. I eventually decided to seal off the garage door in my studio and turn that entire wall into a giant faux window using LED strip lights.
I've gone through a couple of different versions, orientations, and setups over the years, and there has definitely been some trial and error. So rather than making you figure it all out yourself, I'm sharing exactly what I used, what worked, what didn't, and how I made my current LED light wall.
And honestly? It's MUCH easier than it looks.
If you're a photographer looking for a way to add a huge, bright "window" to a studio without actually installing a window, this DIY LED light wall might be exactly what you're looking for.
What You'll Need
I've linked the supplies I used in my Amazon Storefront so you can find everything in one place.
Here's the basic setup:
LED strip lights
Silver bubble insulation sheets
Frosted shower curtain
White tablecloth/backdrop curtains for additional diffusion
Aluminum foil tape
Something to hang the finished light wall
Extension cord/power source, if needed
A quick note: There are a LOT of different LED lights out there, and not all of them are going to give you the same result. The lights are probably the most important part of this entire project, so let's talk about that first.
Choosing the Right LED Lights for Photography
This is where I learned the hard way that not all LED lights are created equal.
My first attempt: shop lights
When I first started creating my faux window, I used these LED shop lights because they were inexpensive, lightweight, easy to install, and didn't require an electrician.
I used them for about two years.
And they worked!
But I definitely had a learning curve when it came to editing. I never felt like the colors coming out of camera were quite as accurate as I wanted, and the highlights could be pretty harsh.
That said, they actually worked really well for my boudoir work because I liked the additional contrast they gave me.
So if you're looking for a little more contrast and don't mind doing some extra work in post-processing, these could still be an option.
For my setup, I used heavy-duty double-sided nano tape to attach the lights to the inside of the garage door.
The problem?
My studio gets HOT in the summer.
Like...really hot.
Eventually, the adhesive couldn't handle the heat and the lights started falling down.
So I decided it was time for version 2. 😂
CRI: The Number Photographers Need to Know
When I started researching better lighting options, I came across something called CRI, or Color Rendering Index.
CRI is basically a scale from 0–100 that measures how accurately a light source renders colors compared with natural sunlight. In general, a higher CRI means the colors you're photographing will look more accurate and natural.
The shop lights I originally used had a CRI of about 85.
The LED strip lights I eventually switched to have a CRI of 90+.
And the difference was noticeable.
The colors looked much more accurate to me, and I didn't feel like I was fighting my lighting in Photoshop quite as much.
One more thing: pay attention to Kelvin temperature.
LED lights come in different color temperatures, so make sure you know what you're buying.
For example, the lights I originally used were 5000K.
And here's something that confused me at first: Kelvin temperatures work differently than the way we typically describe "warm" and "cool" colors.
As the Kelvin number goes higher, the light generally becomes cooler/bluer. Lower Kelvin temperatures are warmer/yellower.
So don't just look at a product listing and assume a higher number means warmer light.
For a photography studio, especially if you're trying to create a bright white "window" effect, color temperature matters A LOT.
The LED Strip Lights I Use Now
This is the setup I ultimately landed on, and honestly, I love it.
The strips are:
Higher CRI (90+)
Lightweight
Easy to install
Adjustable in brightness
Easy to expand if I decide I need more light later
And because my studio space is fairly large, I keep mine on the highest brightness setting.
I've linked the exact lights and materials I used in my Amazon Storefront so you don't have to go down the same rabbit hole I did trying to figure out which ones will work.
Step 1: Add a Reflective Backing
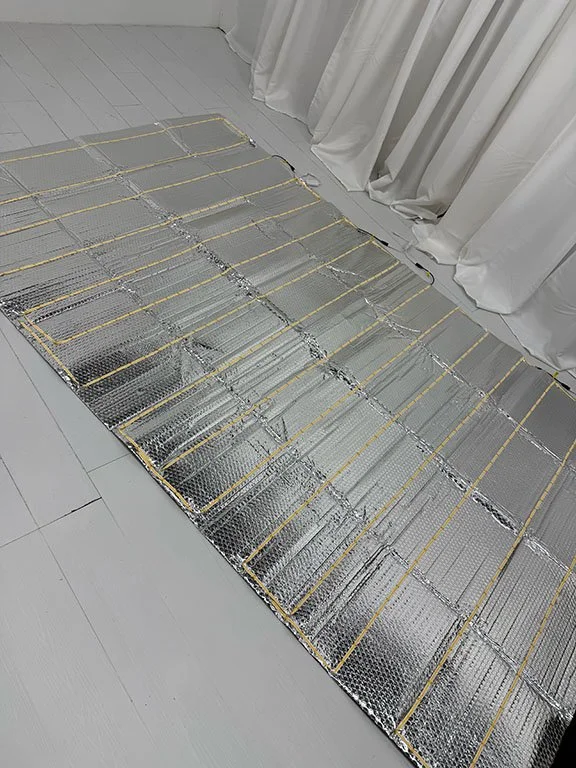
I started with silver bubble insulation sheets.
The insulation acts as a reflective backing behind the LED strips, helping bounce the light forward rather than losing it into the wall behind your setup.
And because the insulation is incredibly lightweight, the entire finished light wall is surprisingly easy to hang.
I used two sheets side-by-side to create a light wall approximately 8–9 feet wide and about the same height.
Depending on the size of your studio, you can obviously make yours smaller or larger.
Step 2: Attach the LED Strip Lights
The LED strips I used already have adhesive on the back, so installation was ridiculously easy.
Just peel off the backing and stick them to the insulation.
I started at one end and worked my way back and forth across the insulation, leaving approximately 6 inches between each row.
The trickiest part?
Getting the ends of the strips lined up so I could plug them into the same power connection.
Each plug supported two strands of lights, so I had to pay attention to how I laid everything out.
Once I figured out the pattern, though, the rest went VERY quickly.
The entire process took me about 30 minutes.
Seriously.
I was expecting this to be an all-day project and was shocked at how fast it went.
Step 3: Hang Your LED Light Wall
Once all of the lights were attached, it was time to hang the whole thing.
Because the insulation is so lightweight, this was much easier than I expected.
I personally used aluminum foil tape across the top of my garage door to hang mine.
But you have options here.
Depending on your space, you could also use:
Heavy-duty double-sided tape
Heavy-duty Command Strips
Curtain clips/hangers
Another mounting system that works for your particular wall
Just make sure whatever you use can safely support your setup and that you're following the manufacturer's recommendations for your particular product.
Step 4: Diffuse the LED Lights
This part is IMPORTANT.
If you stop after hanging the LED strips, you're going to see individual strips of light.
That's not the look we're going for.
We want one giant, soft, bright wall of light.
The best combination I've found is:
1. Frosted shower curtain
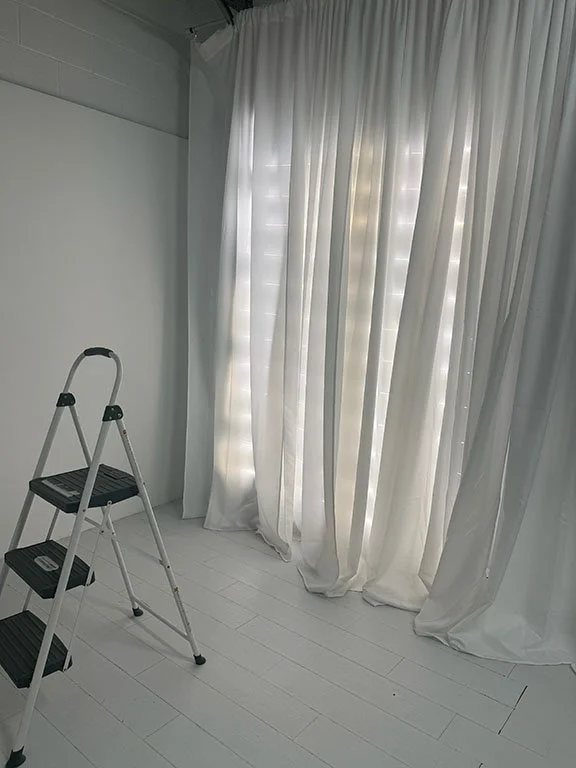
First, I put a frosted shower curtain in front of the LED strips.
This helps diffuse the individual LED strips and turn them into a much more even source of light.
2. White tablecloth/backdrop curtains
Then I add thicker white tablecloths or backdrop curtains over the shower curtain.
I've tried sheer curtains, too, because they seem like the obvious choice for diffusing light.
But here's the problem I've run into:
Sheer curtains can pull magenta.
And if you're trying to create a clean, bright white studio look, that is NOT what you want.
The thicker white curtains have worked much better for me and give me a cleaner, more neutral white.
And That's It!
Plug those bad boys in and you're done.
You now have a giant DIY LED light wall that basically acts like a giant faux window.
And considering what a huge permanent window would cost to add to a studio, this was a MUCH more budget-friendly solution.
It also gives me something I didn't have when I first moved into the studio: consistent, controllable light.
No worrying about clouds rolling in.
No worrying about the time of day.
No worrying about whether the sun decided to cooperate.
I can shoot the same bright, airy look whether it's 10 a.m., 3 p.m., or pitch black outside.
How I Use My LED Light Wall for Photography
The biggest reason I love this setup is that it gives me the look of natural window light without actually needing a window.
I use it for the bright, clean look I want in my studio, and it works especially well with my light and airy photography style.
It can also be useful for:
Portrait photography
Maternity photography
Newborn photography
Family photography
Headshots
Branding sessions
Boudoir photography
Product photography
Content creation
And because the brightness can be adjusted, you aren't stuck with one level of light.
How Much Does a DIY LED Light Wall Cost?
One of the reasons I decided to build my own instead of buying a commercial photography lighting wall was the cost.
You can build something very similar without spending thousands of dollars on a permanent studio modification.
The exact cost will depend on the size of your wall and how many LED strips you need, but from start to finish, you could probably make one of these for $200-$500.
I'll also link everything I used in my Amazon storefront so you can easily grab the supplies without having to hunt down each individual piece.
Some of the links in this post are affiliate links, which means I may earn a small commission if you purchase through them. It doesn't cost you anything extra, but it helps support my photography business—and my habit of turning every available surface in my studio into a DIY project. 😂
What I Would Do Differently
If I were starting from scratch today, I would skip the shop-light version altogether and go straight to the higher-CRI LED strips.
The shop lights weren't terrible. They just weren't as color-accurate as I wanted, and the harshness of the light created more work for me in editing.
I also wouldn't underestimate how hot a garage can get.
If you're installing your LED wall somewhere that gets significant temperature changes, think carefully about how you're attaching everything. The adhesive that works perfectly in a normal room may not hold up when your space turns into a sauna in July.
And finally, don't skip the diffusion.
The LED strips may look cool on their own, but if you want that big, soft "window" effect, the diffusion is what makes the magic happen.
Frequently Asked Questions About DIY LED Light Walls
Can I make my own LED light wall for photography?
Absolutely! A DIY LED light wall can be made with LED strip lights, a reflective backing, and a diffusion layer. My entire setup took about 30 minutes to assemble once I had all of my supplies.
What LED lights are best for photography?
If you're using LED lights for photography, pay attention to CRI and color temperature, not just brightness. I recommend looking for lights with a CRI of 90 or higher if accurate color is important to you.
What is CRI?
CRI stands for Color Rendering Index. It is a 0–100 scale used to describe how accurately a light source renders colors compared with natural light. For photography, higher CRI lighting can help produce more natural and accurate colors.
How do you diffuse LED strip lights for photography?
I use a frosted shower curtain followed by a thicker white curtain or backdrop. This helps eliminate the visible individual LED strips and creates a much softer, more even light source.
Can I use sheer curtains to diffuse an LED light wall?
You can, but I personally didn't love them. In my experience, the sheer curtains I tried tended to introduce a magenta cast, which wasn't what I wanted for my bright white studio.
How big should a photography LED light wall be?
Mine is approximately 8–9 feet wide and about the same height, but you can customize the size based on your studio space and how much light you need.
How long does it take to build an LED light wall?
Once you have your supplies, the actual assembly took me about 30 minutes. The exact amount of time will depend on the size of your wall and how complicated your setup is.
Can an LED light wall replace a window in a photography studio?
It can create a similar look, especially when the LED strips are properly diffused. One of the things I love about mine is that I get consistent light regardless of the weather or time of day.
Happy building, photographers! And if you make one of your own, I want to see it!
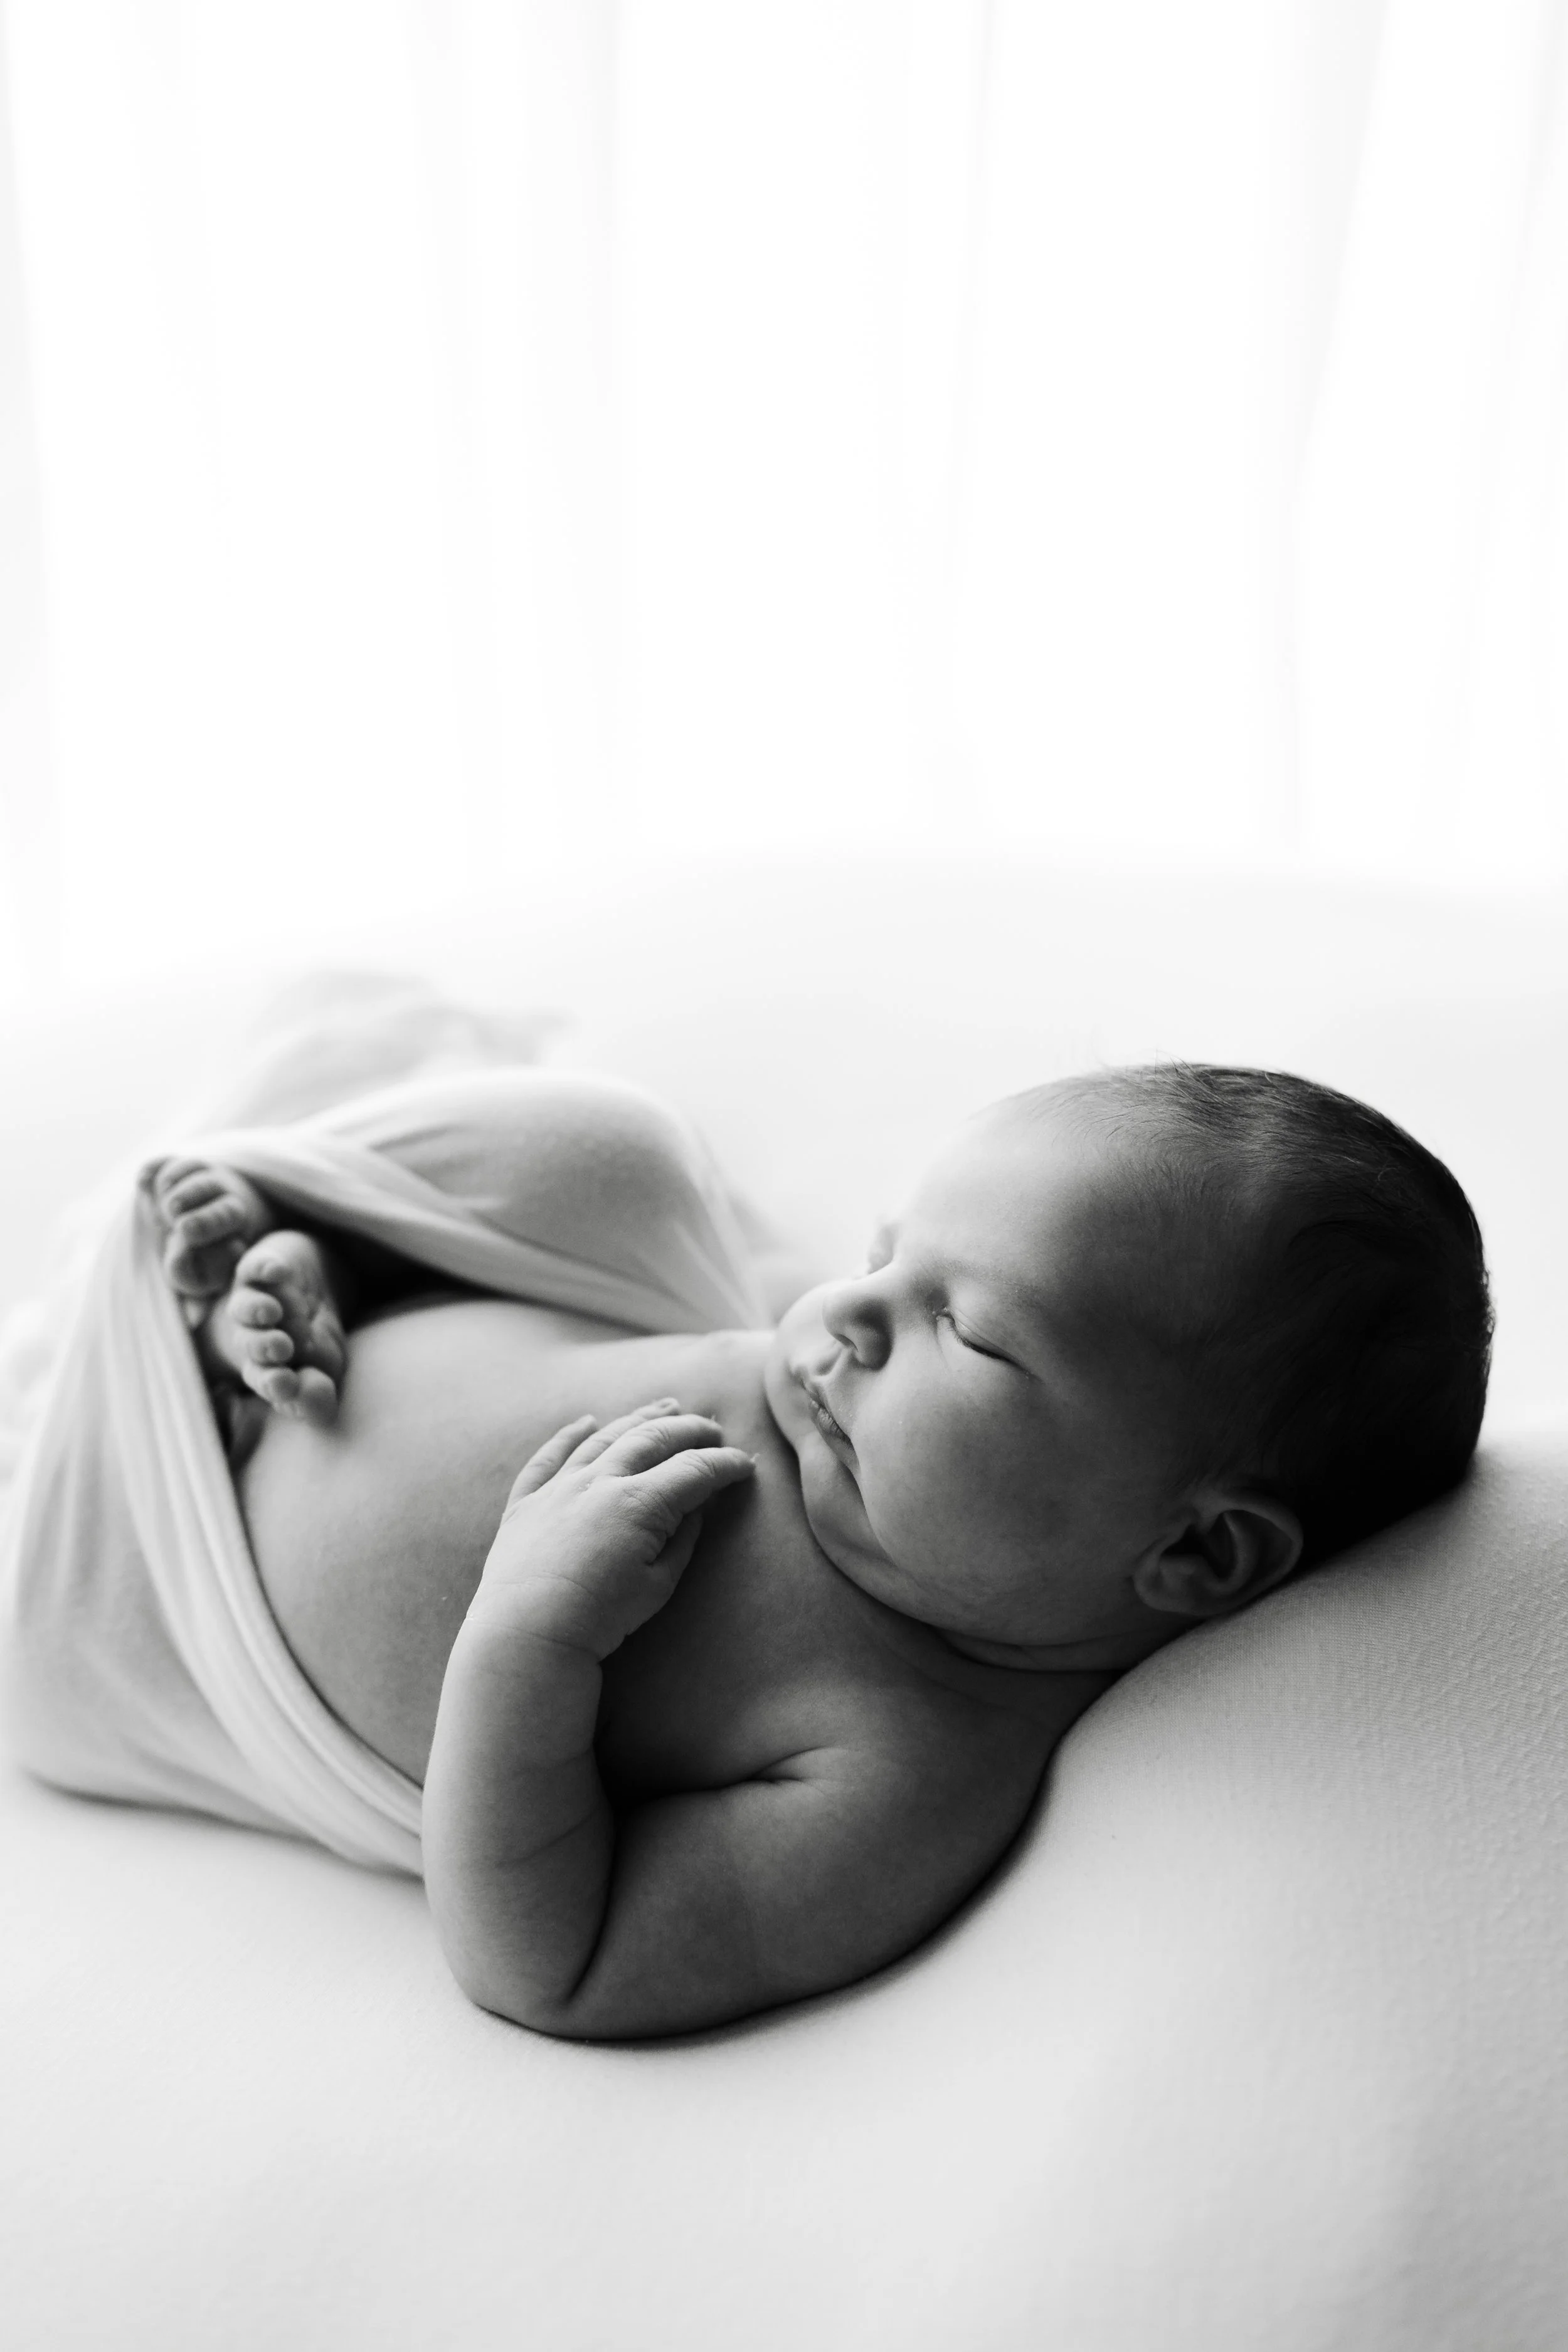
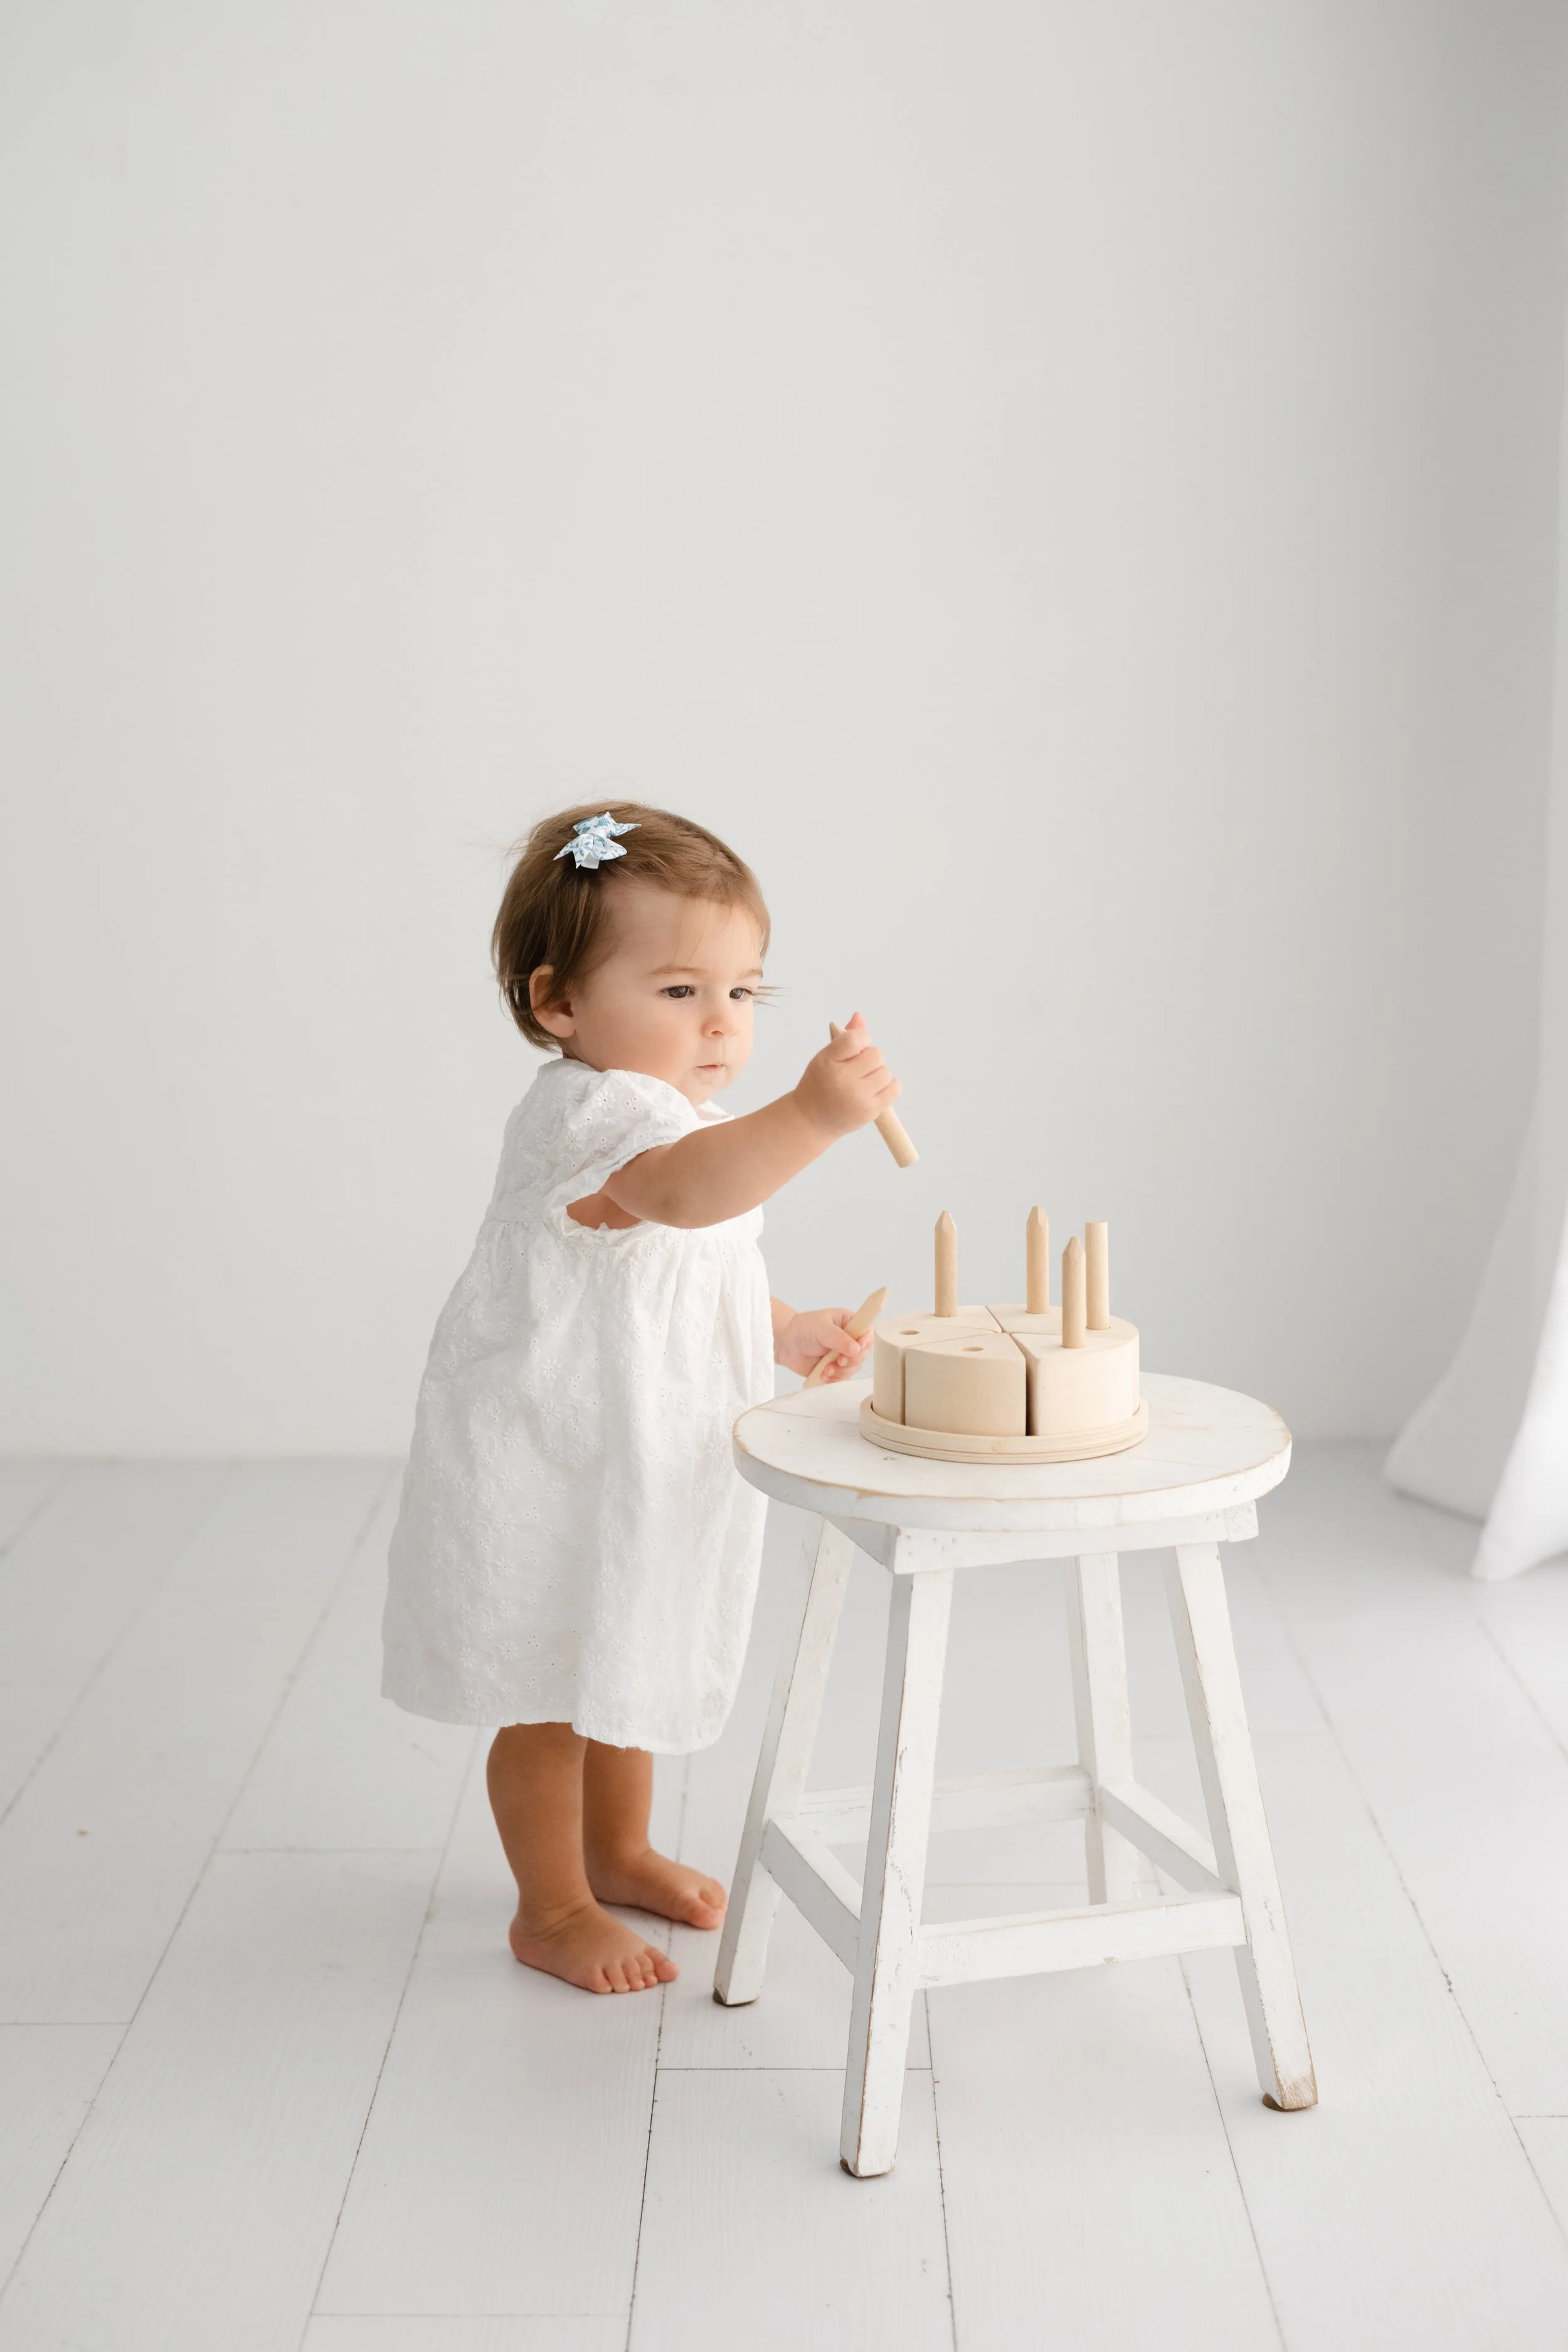
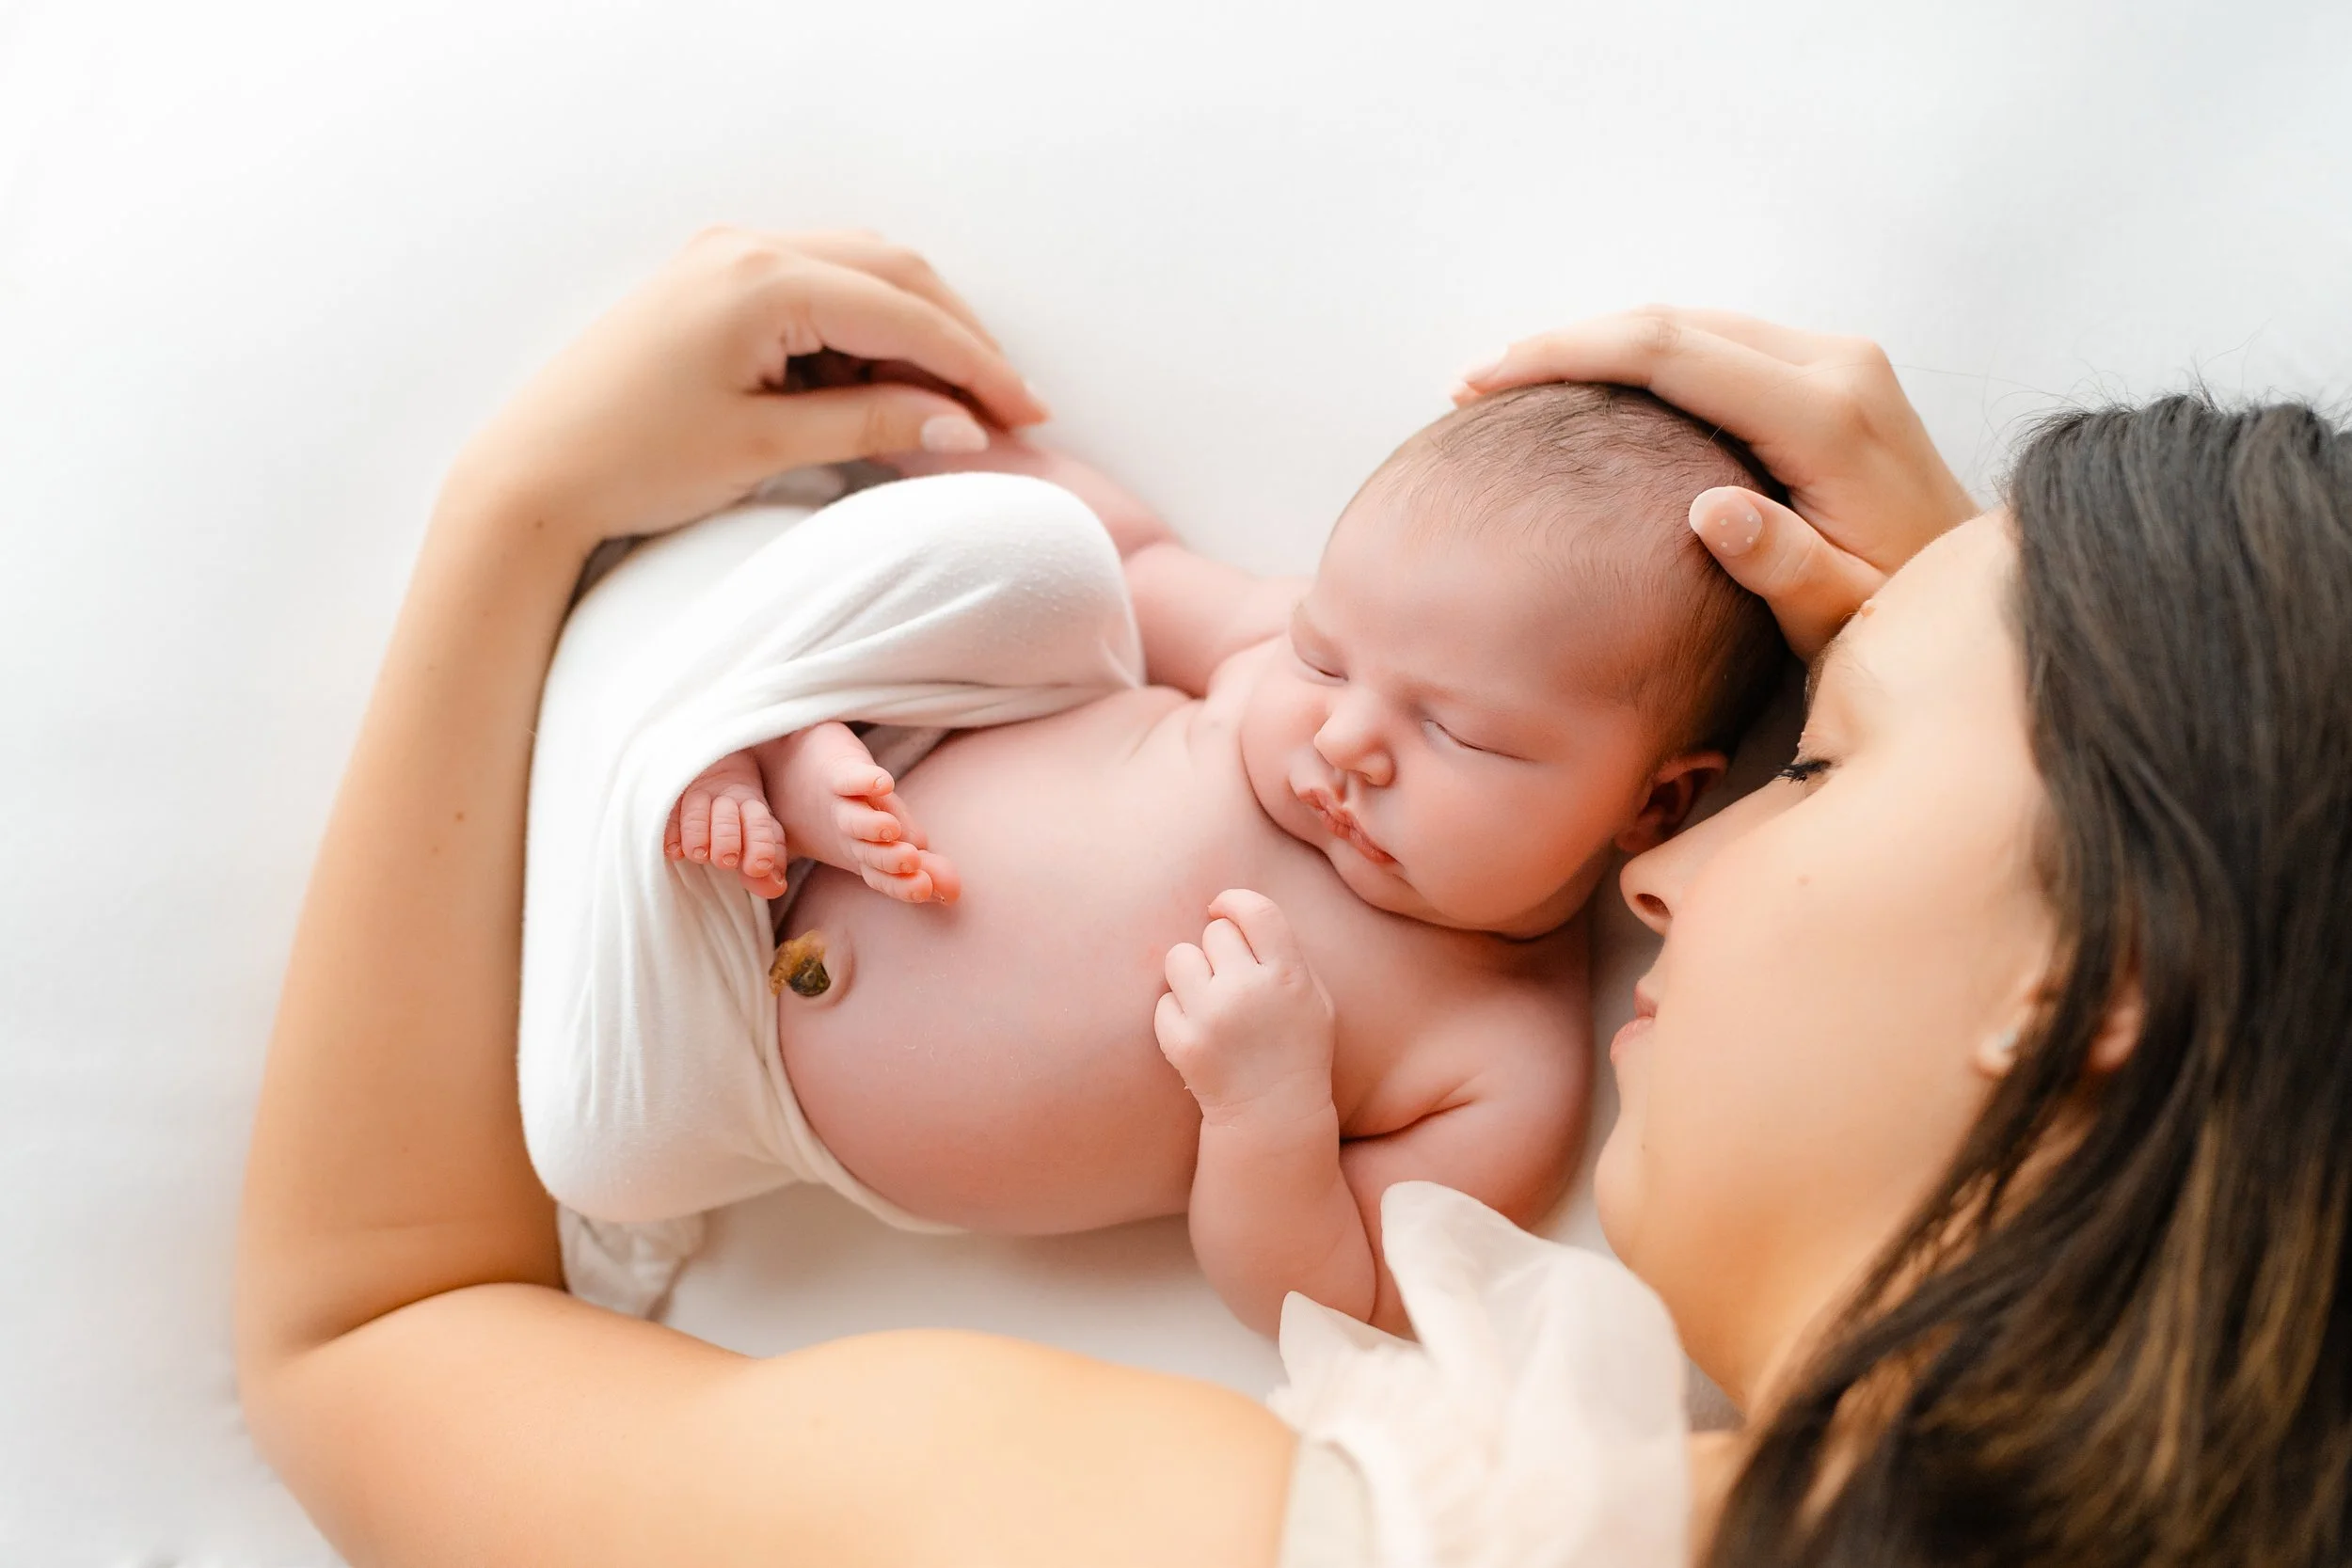
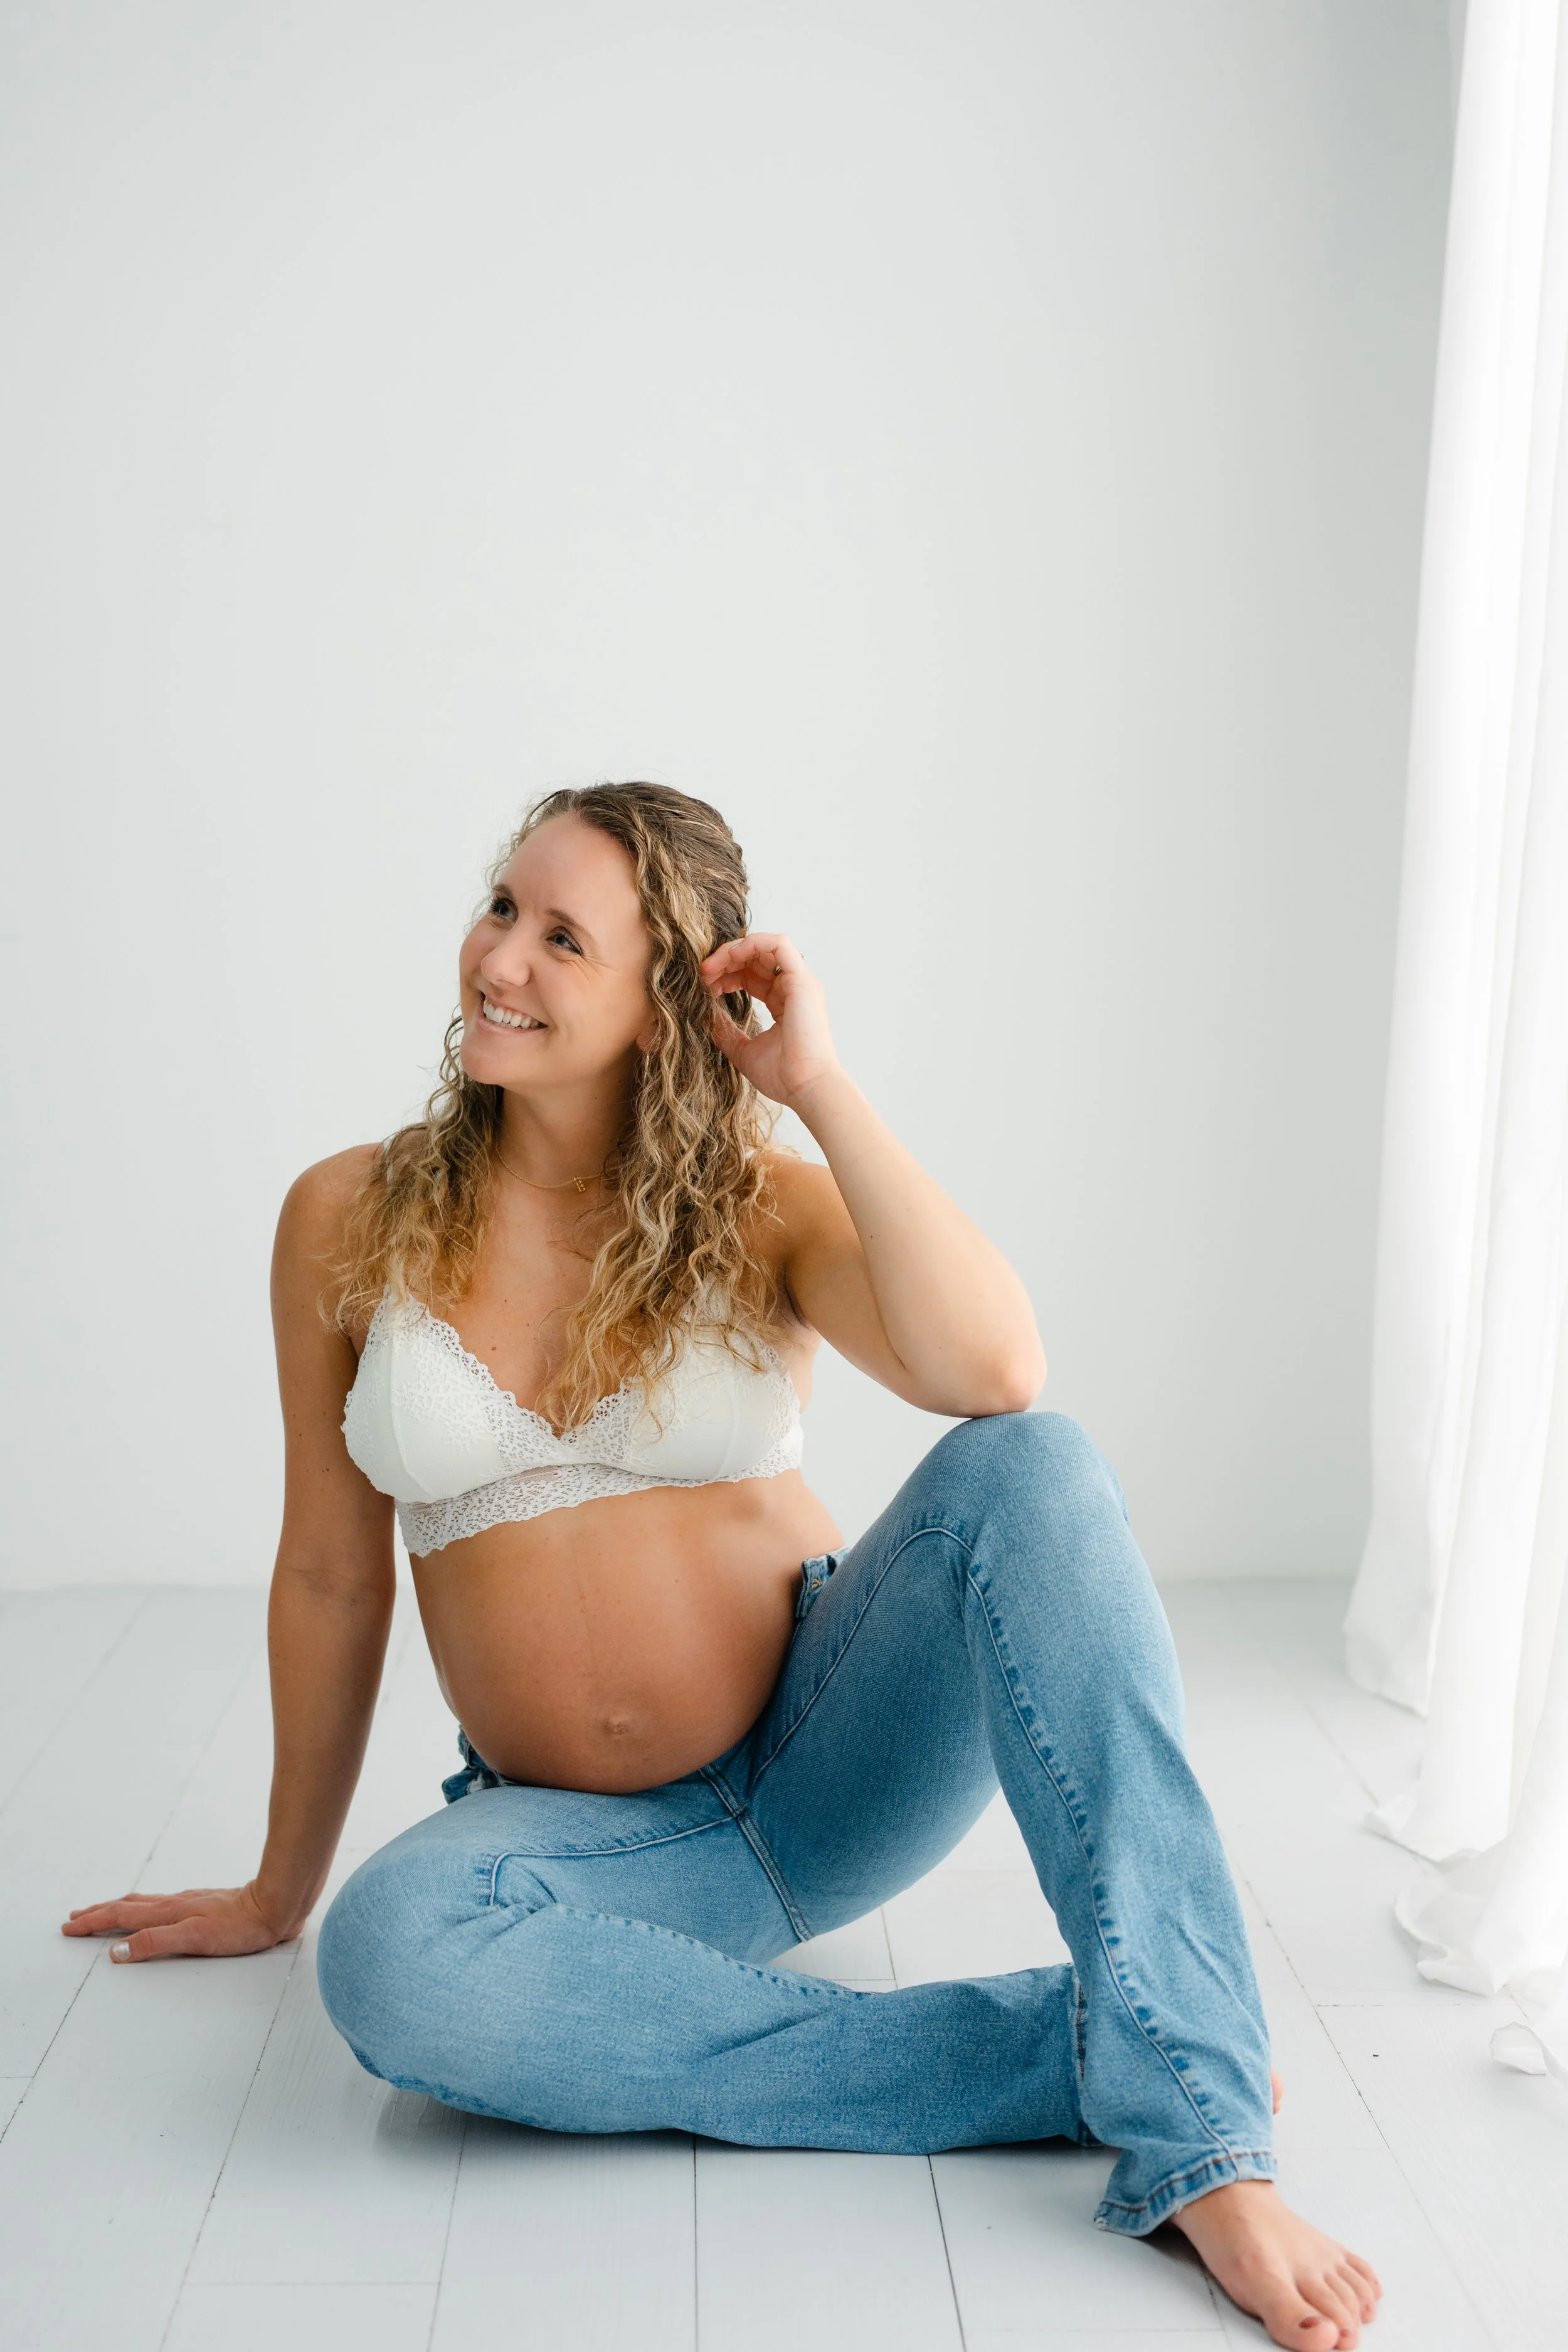
Here is some recent work with my LED Light Wall: